If you haven't already, trim your quilt's excess wadding and backing. The backing and wadding should be trimmed to the same size as your quilt top.
First thing you will need to do is cut your binding fabric into 2 1/2'' strips WOF (width of fabric). The WOF is from selvage to selvage.
Once you have your strips you will need to sew them all together to make one long strip. The best was to sew them together is on the diagonal.
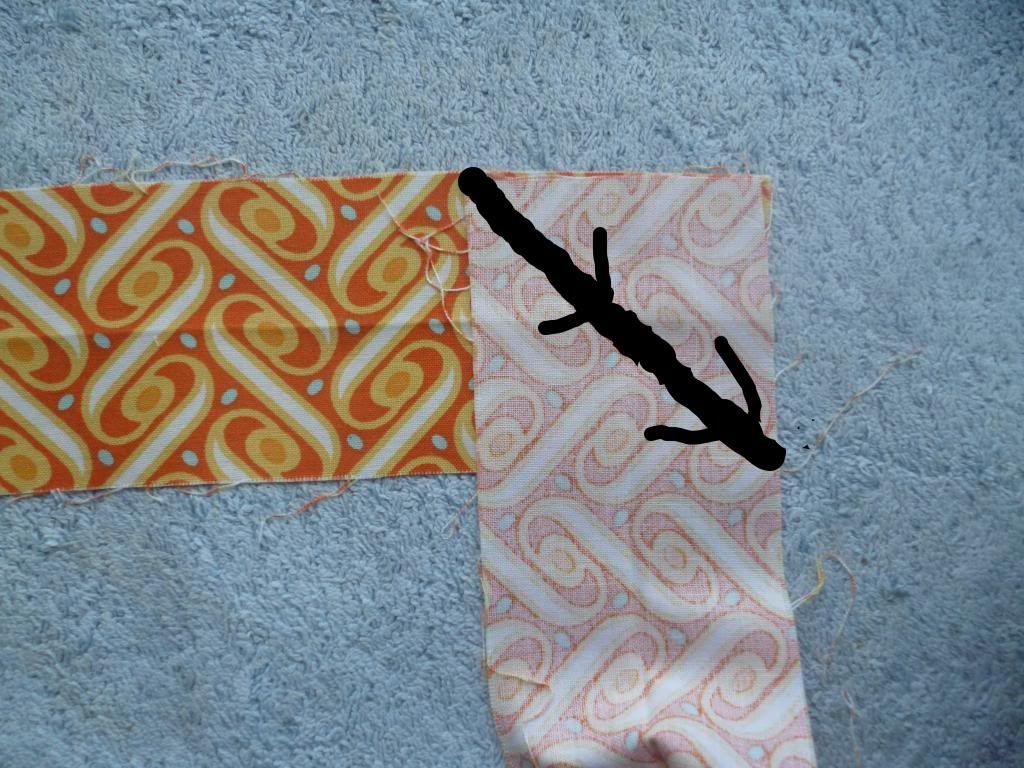
To do this lay one strip out like so (face up), and lay the second strip on top (face down). Then sew from corner to corner, as indicated below. (sorry for the scrappy photo, still learning!)
After that is sewn, trim the seam to 1/4''. (if you keep your scrap triangles there are quilt patterns that use these scraps). Sewing your strips together this way (instead of straight edge to straight edge) will not only give you a more professional finish, but it reduces bulk.
Continue sewing all of your strips together until they are all joined.
Once you have your long roll of binding, fold it in half, with wrong sides together and press.
Get one end of your binding, and starting in the middle of one side of your quilt (your quilt should be right side up), line up the raw edges of your binding, with the raw edges of your quilt.
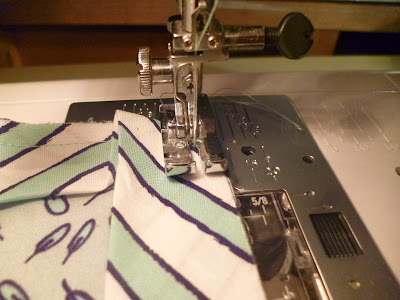
Using a 1/4'' foot, sew the binding to the quilt, leaving about a 4'' 'tail'.
(In this photo, there is an un-sewn 4'' portion behind where I'm starting. I'm opening the fold to show that the raw edges are lined up with the raw edge of the quilt).
Now, when you get to the corner keep sewing until there is only 1/4'' left. Reverse to tie your stitches and remove from machine. (As seen Below)
Now, fold your fabric up, as below.
Then fold it down, keeping the edge of the fold you just made lined up with the edge of the top of the quilt.
Now put that under your machine and sew from the top, 1/4'' as before.
Repeat for all other corners. When coming back to the start, stop 8'' before where you started sewing.
Now, line up your binding, and cut it (straight), allowing for a 1/2'' overlap. Open up the binding and with right sides together, sew the ends together with a 1/4'' seam. (Some people like to sew this seam on the diagonal too, but I find it much easier to do it this way, completely up to you).
Then finish sewing your binding to your quilt top.
Now flip your binding over to the back of your quilt and hand stitch in place. You'll notice that your corners will be already perfectly mitered in the front. I love that! Its such an easy, professional way to bind a quilt!
And there you have it! I hope that was helpful. Any questions feel free to ask :)
Jessica


No comments:
Post a Comment
Thanks for taking the time to comment! I love hearing from you :)