One of my good friends is having a baby this October. She is also a sewer (seamstress?) and so of course she is churning out lots of goodies in anticipation of number 5 (!).
Everything I decided to make for her, she's already making! Seriously! My first thought was a quilt (no surprises there) but I think she is currently onto quilt number five at the moment. Then I thought a stool...yup she's made one of those too, and the list goes on.
So I thought I was getting out of it easy when I volunteered to put her nappy bag together.
I was wrong!
This sucker was sooo thick I broke at least 6 needles!! Yes, yes, some of you may question my needle choice, they were just universal needles...and maybe a few quilting needles (What? I was getting desperate!), but the craft store isn't open Mondays, and well, today being Monday....you see my problem?
Anyway, lets look at some photos

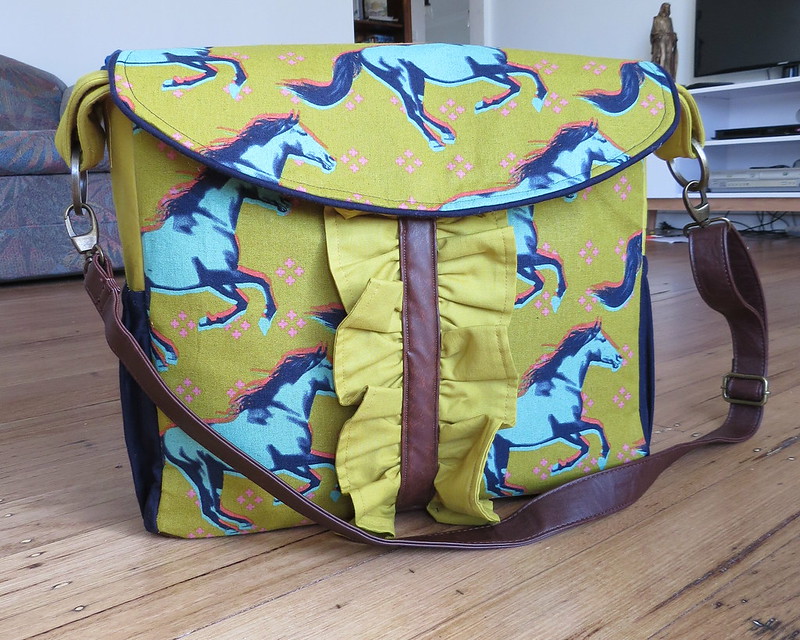
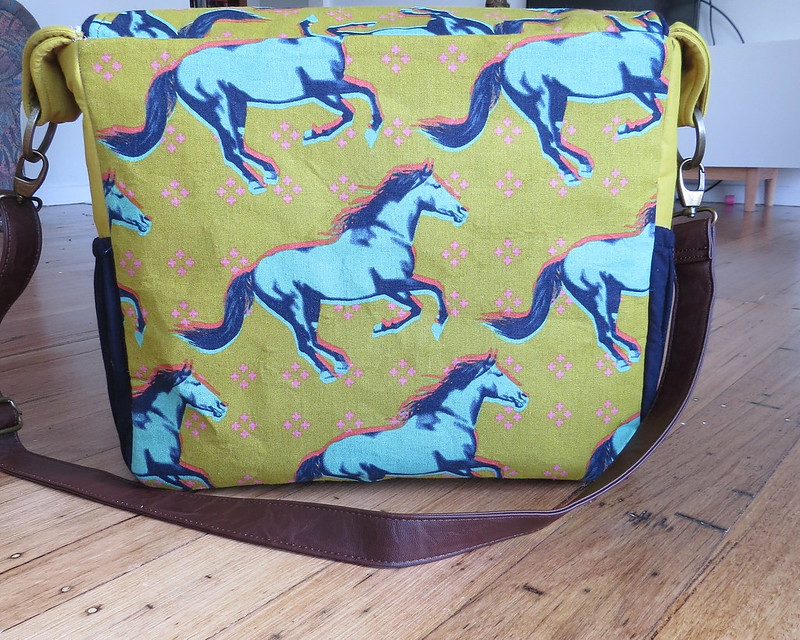
The fabric is all from fabric.com, and is mostly Cotton and steel. The outer, horse fabric is canvas, with some fake leather accents on the bottom and in the middle of the ruffle. My friend picked the pattern, and to be honest I'm not 100% sold on the ruffle and I was tempted to leave it off, but I reminded myself that its not my bag and put it on there.
Its probably one of the things she loves most about the pattern :)

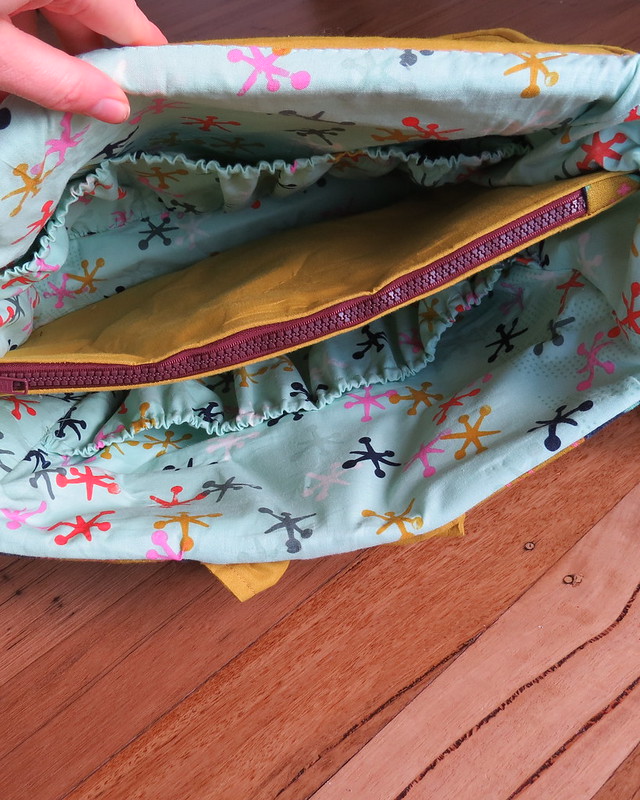
It has loads of storage, as every good nappy bag should.

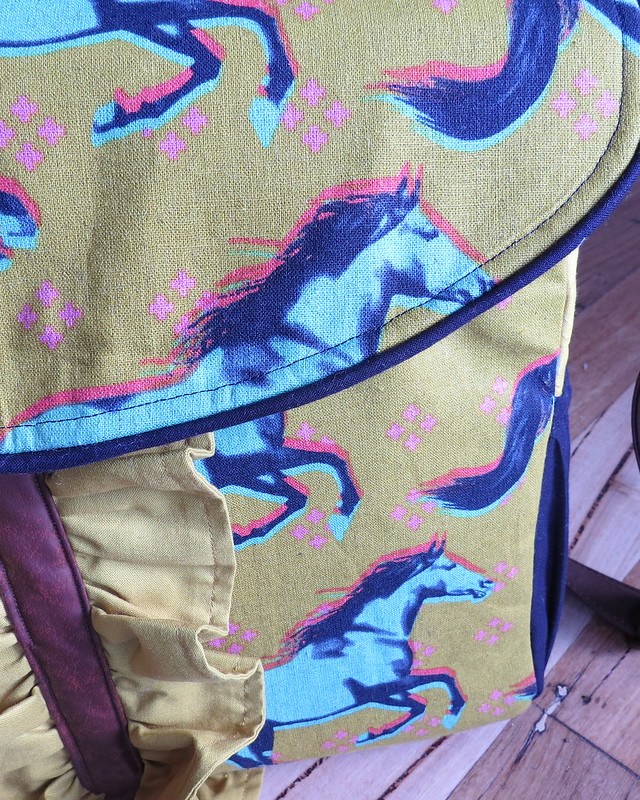
I added the blue pipping around the lid.

(See that baby block? That's me styling! Yeah! I'm doing it!)...that's me being sarcastic if you couldn't tell.
When I was cutting the bag I really stewed over pattern placement, especially on the lid. I knew I wanted a whole horse on the lid, but didn't want it to be smack-bang in the centre. I could've fit two horses on the lid but it looked silly, so after lots of internal debating, I settled on one horse off-centre.
I also *tried* to match up the pattern on the lid with the front of the bag, but it didn't turn out too well, so lets just pretend that I didn't and it just happened like that.

The last step in the pattern was to top stitch all around the top of the bag. I tried...I really did, but I came to the conclusion that its physically impossible without an industrial sewing machine, so I unpicked my poor, poor effort and left it. (I don't think I'll mention that to my friend either).
The pattern is called 'The Lola Bea Diaper Bag', Im *pretty* sure it came from Etsy. Check it out if you like it.
You may notice that I omitted the strap and went for a pre-made leather strap from a previous bag. The side ring-holders (don't know what they're called!) were made by me and my ingenious brain! (and therefore are not part of the original pattern.)
Its always hard to sew for a fellow sewer, as they can pick mistakes, but all in all I'm pretty happy with how it turned out!
Next time though...I think I'll just stick to quilts :)
Jessica

Oh my goodness, I love the finished bag! I don't love all the needle trouble you had of course :) - that can be so frustrating - but it looks awesome! And the leather strap was such a great idea, it's the perfect finishing touch!
ReplyDeleteThis is a really cute bag.
ReplyDelete