Showing posts with label Jelly Roll. Show all posts

Tuesday, 15 September 2015

Jamming With A Jelly Roll : :

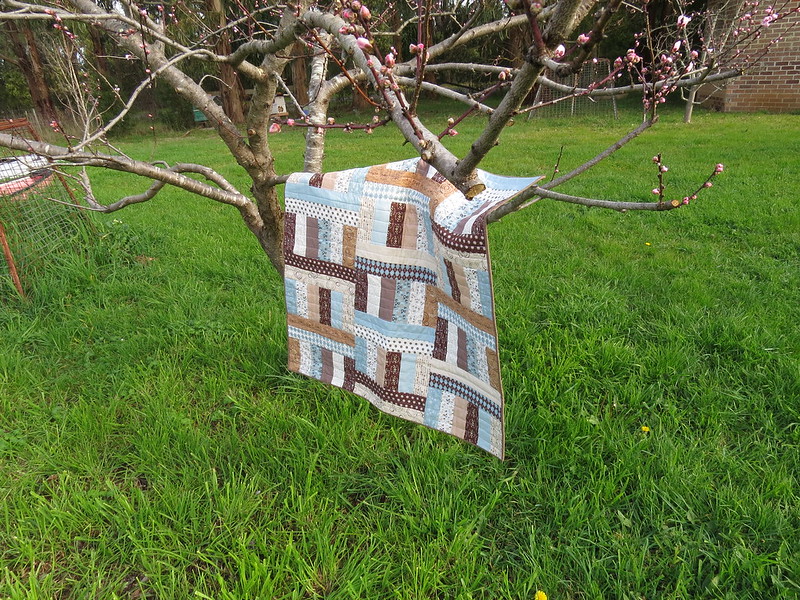
My sister has just recently had her 3rd baby!! She now has 1 girl and 2 boys. So of course I made her a quilt as a present.  (I honestly feel like I write that that line at least once a month!)

Ive been hoarding a jelly roll of Sweet water 'Pure' since Mr Z was born (he just turned 3). If you remember I actually used the same fabric for his baby quilt!

Because it reminds me so much of Little Mr Z when he was a bubba, Ive been really reluctant to use it......but since its for my new nephew, I decided I could part with it. (Well, half of it. The other half I have stashed back away in my cupboard with every intention of keeping it forever)

I wanted a really quick sew, so I decided to use the 'Jelly Roll Jam II" pattern from The Fat Quarter Shop. Check out the youtube tutorial here.

So in between making fun of the American accents on the tutorial (ha ha you should hear my husband) and going to my brothers wedding, this quilt came together so so quickly.

IMG_1610

I love it sooo much!! (can i just point out the blossoms on that tree? YAY! SPRING!!)

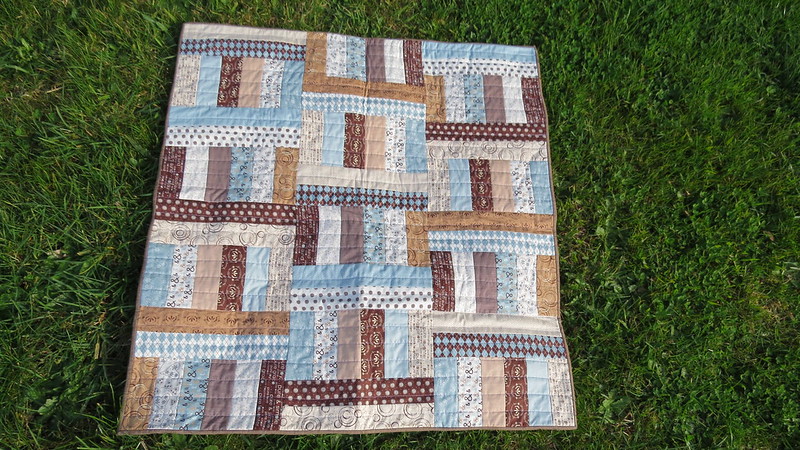
Out of all the quilts I have ever made, this quilt is the most well made. It is dead square. For some reason my quilts are never 100% square. But this one is.
Also all of my seams are perfect! (if I do say so myself).
I finally figured out why its so important to press seams in opposite directions so the seams 'nest' together! (slow learner)


IMG_1611

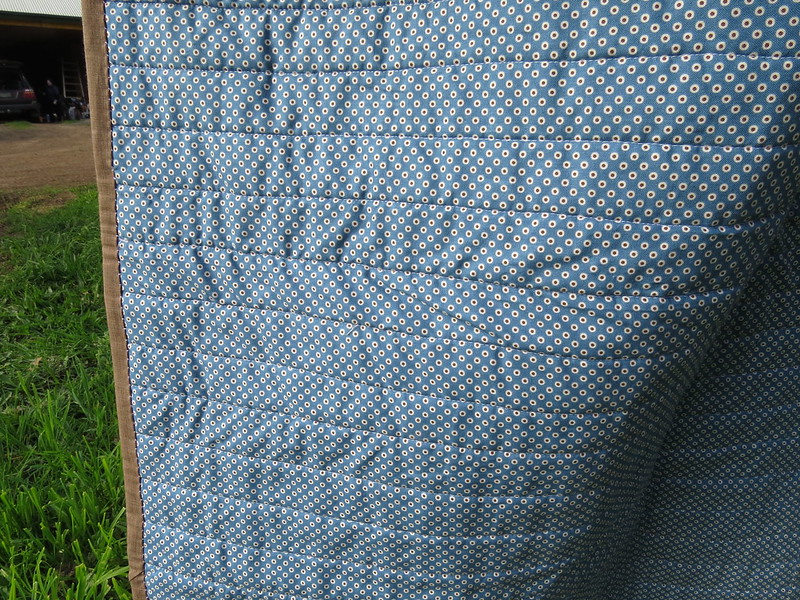
The back I managed to scrounge out of the backing left-overs from the triangle quilt I made recently.
It took a while to cut all the trimmings into usable strips but I'm so glad I did. Its much better for the bank, and its a great scrap-buster!

IMG_1615

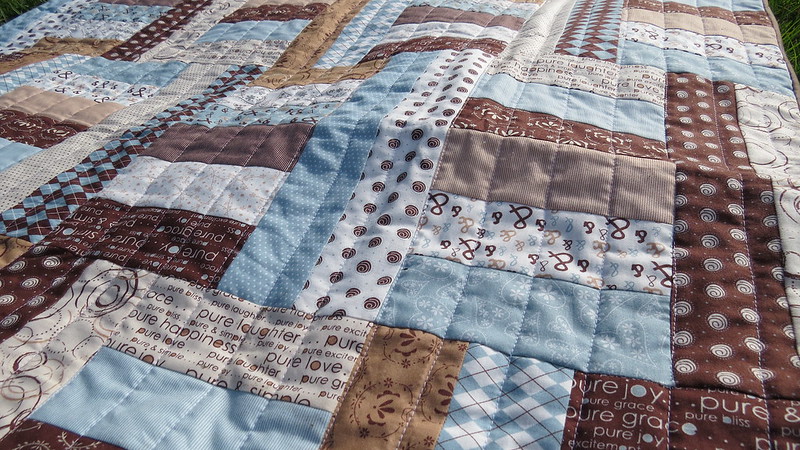
To quilt it I decided just to use straight lines. I love it so much!! Its adds so much lovely texture!!
Another score with this quilt is that there are absolutely NO puckers on the back!! YES!! I think I may finally figured out how not to get puckers!! (we'll see how I go with the next quilt!)

IMG_1613
The binding is a lovely linen look cotton that I picked up from my local craft store.

I love this quilt so much!! I've really noticed how much Ive improved at sewing when I look at this quilt...and especially when I compare it so some of my earlier ones.

Well, I'm going to chuck it in the mail today and it will soon be keeping a baby warm in sunny Cairns where my sister lives.  (or maybe it will be used as a floor quilt!! Ha ha its rather hot in Cairns!)

Jessica

Monday, 3 August 2015

3 Moda Giddy Mini Quilts (+ tutorial) : :

There are so many of my friends and family who are having babies at the moment! Really! There must be something in the water.....or maybe they all took one look at Little Miss S and got clucky *wink*

Anyway...because there are so many babies that have either just been born, or are currently cooking, I've decided to make them smaller gifts. (I just did a quick count and there are 6 babies!!)

3 of the 6 bubs are girls, and I had a moda "giddy' jelly roll sitting in my cupboard just calling out to be used.

I wasn't ready to commit to cot quilts for each of them (not because I don't love making them, I just really don't have the time...and if I'm being honest, the motivation), but I decided a smaller pram/bassinet quilt would be perfect, especially since its sooooo cold at the moment here in Australia.


IMG_1424


I wanted to keep it simple. No triangles or flying geese...just strips. So I opened my jelly roll (am I the only one who loves opening a new jelly roll?) and selected a good range of colours.....really no need to over think this part....just reach and grab.
When I had a good handful of strips I cut them in half...again no need to measure, I just eye-balled it...and started sewing the strips together into runs of 4. I just kept grabbing more strips and adding them in as needed.
Then once I had a smallish pile of 4 strips sewn together, I cut them into 2 1/2 inch strips. (I didn't take any photos...but its not that hard to imagine)


IMG_1425


After that I just sewed all the strips together and voila! Baby quilt!
I continued this until I had 3 quilt tops.

Then it was a simple matter of pinning to the wadding, quilting the top (just 1/4 inch from every seam), then I pinned it to the back and just run down a seam every 5 inches or so.


IMG_1427


These were the first quilts that I have backed with fleece. They turned out so soft and warm, but not too heavy like minky can be. I think its the perfect back for newborns.
I ran out on the last one however to I threw in a strip of tilda farbic in the middle. It still turned out cute.
I then used left over jelly roll for my binding. 

Two of these quilts have already been gifted and are currently keeping a couple of baby girls warm. This one will be going to its new home tonight.

If your looking for a quick make...I can definitely recommend. They were quick and easy...but look fab!

Jessica

Oh, I should add they measure roughly 32 1/2 inches by 24 1/2 inches for those interested.

Saturday, 7 June 2014

Grandma's 80th Birthday Quilt : :

In April it was my grandmothers 80ths birthday. Is there a better way to celebrate turning 80 than with a new quilt? Nope, I couldnt think of anything either!

I decided I wanted to make a quilt using a Jelly Roll (my 1st ever!). I wanted to use one because I wanted to make her a queen sized quilt, and didnt want it to take me too long!
After a few sneaky phone calls to my aunt about what types of colours nan does and doesn't like, I decided to get 2 Lario Jelly Rolls.

Lario is by 3 Sisters for Moda. Its a traditional-type fabric, but still has some really nice colours.
My grandma is a traditional sort of lady so it was a match made in heaven!

I borrowed a Jelly Roll book from my friend and decided to make the pattern 'Daisy Chain'.
(hmm hmm, I actually was going to go with another pattern, but ran out of time!)

It actually sewed up really quickly for a queen quilt, but I was still rushing to finish it because as usual I had procrastinated for about....only a YEAR!

Yes, I began planning this quilt at her 79th birthday and had all these wonderful plans to start and finish it waaay before her 80th.

I didnt start cutting this quilt till 1 week prior.
Need I say more?


So here is it being used in my grandmas bedroom. For the background I used Kona snow, which was perfect with Lario. Snow isn't as 'stark' as white, which was nice for a more traditional quilt. 


I backed it in a peach coloured backing I got from my local craft store. To be honest, I cant stand peach coloured things (it reminds me of 80's shiny bridesmaids dress and dated old bathrooms), but it went so well with the quilt, and was wide enough that I didnt have to have any seams on the back. SOLD!

And my nan didn't mind it either, which, of course is the most important thing!

To quilt it, because I was sooo strapped for time, I used a wavy stitch on my Bernina, and just stitched the width of the quilt on every seam. For some reason I thought it would be quick -It wasnt!

But it looked ok. I think I would've preferred to stipple this quilt (if I was being honest) but I really didn't have the time......

NEXT time, I wont leave it till so late! (Says she who is still making a baby quilt for a baby that is now 4 months old!)

Jessica