Showing posts with label Bernina 440QE. Show all posts

Tuesday, 8 September 2015

Triangle Wedding Quilt : :

Last week one of my younger brothers (I have three!) got married!! It was such a lovely day! .....and it was also the first time we have employed the services of a 'proper' babysitter (a lovely girl from church), so it was extra fun to have some kid-free time!
(well almost kid free time! Little Miss S came to the reception as I'm still feeding her, but she slept 80% of the time *BLISS*)

So to welcome a new sister-in-law into the family, and to celebrate their wedding day I made them a quilt!
I really deliberated over which fabrics I should use, as I'm not 100% acquainted with what type of things my new SIL likes yet.
I decided to play it safe and go with something a little 'toned down'.
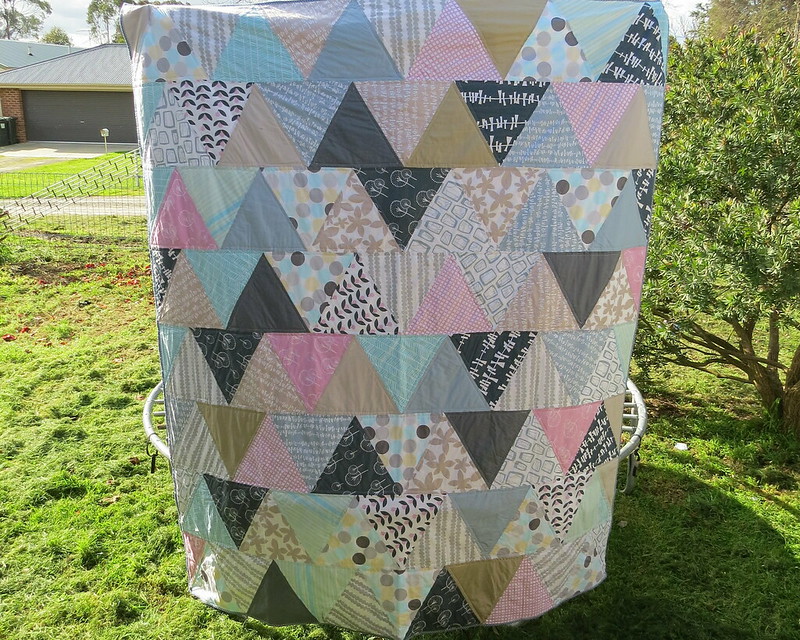

IMG_1537


I raided my stash, which is happily coming into more manageable levels (and by that I mean actually fitting in my fabric cupboard!), and came up with 'glimma' by Lotta Jansdotter. I've been hoarding this fabric for a loooong time, and its the kind of fabric that could really go with any kind of decor.

IMG_1543


I wanted this quilt to be a quick sew (well as quick as a queen-sized quilt can be) so I grabbed my trusty 12inch equal-lateral triangle ruler and started cutting out triangles.
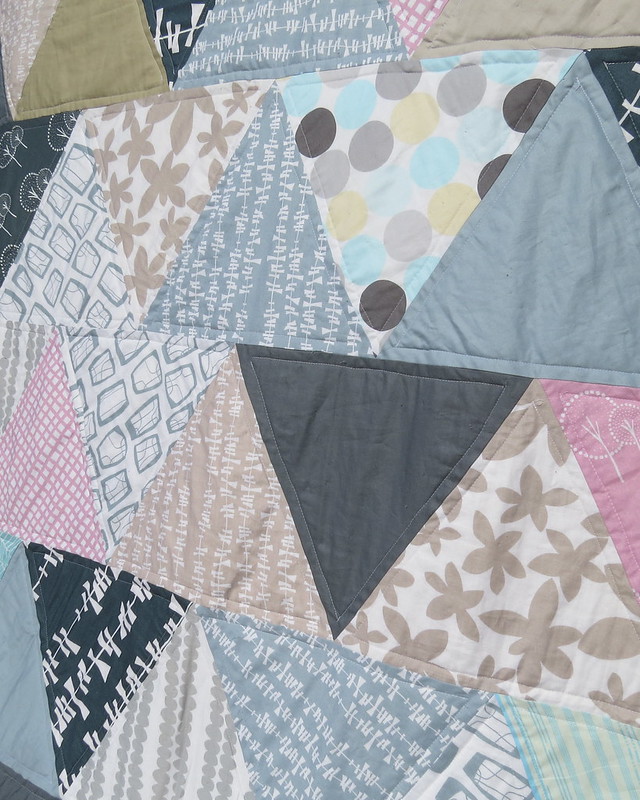

IMG_1540 

It didn't take me all that long to cut, only about 3-4 hours I would guess?
Once I had my layout down pat, I started sewing. Lots of lovely straight sewing. It really was a very quick sew.

The hardest part of this quilt was definitely the quilting.
The thought *did* cross my mind as I was sewing it all together that perhaps I should do quilt-as-you-go to make it easier to feed through my machine. For some reason I dismissed that thought and joined the whole quilt top together.
BIG mistake!!

Its sooo hard to quilt a quilt of this magnitude on my little Bernina 400QE.
The quilting took me about quadripple the amount of time I thought it would, and even then I didn't quilt it the way I was imagining it in my head.

But never mind. Its quilted now. Ill just remember this for next time...(maybe....I'm a chronic slow learner when it comes to making things easier for myself!)


Jessica

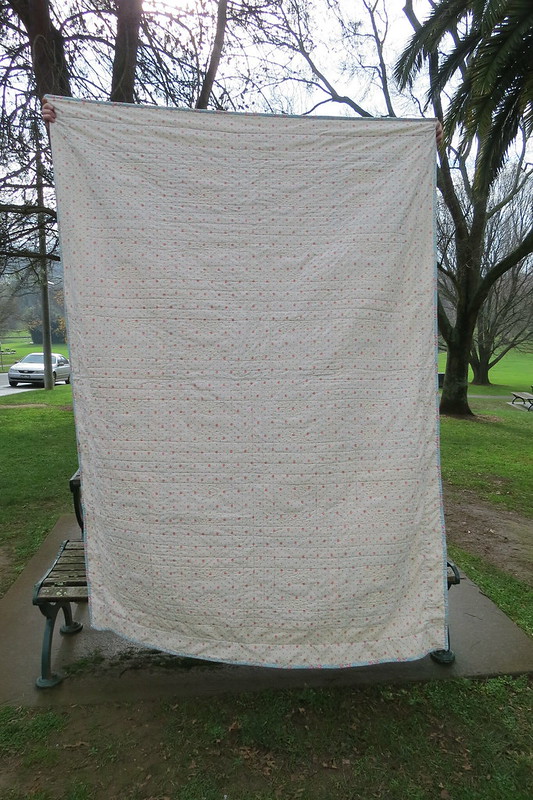
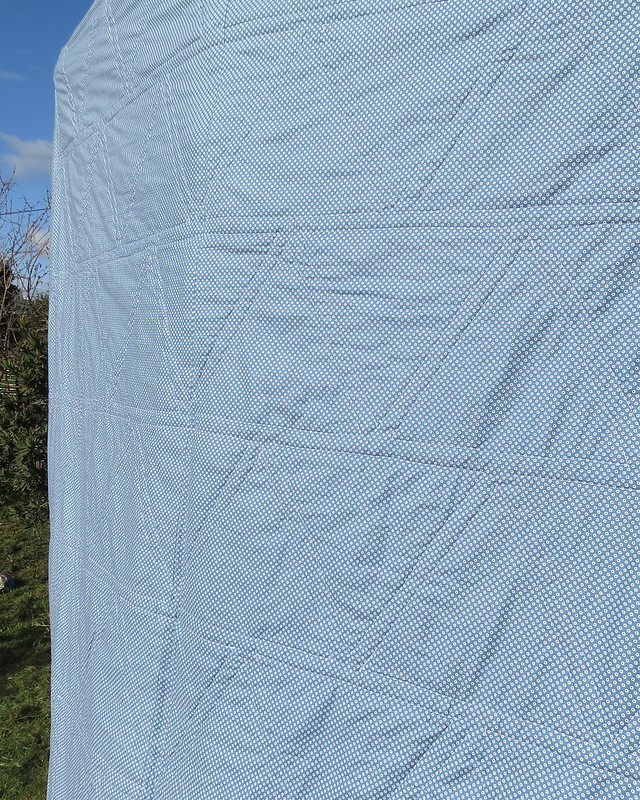
Note: for those interested, the backing is by Riley Blake, called Pirate Matey (its another old line that I've been hoarding!)

Thursday, 18 June 2015

Baby Play Gym : :

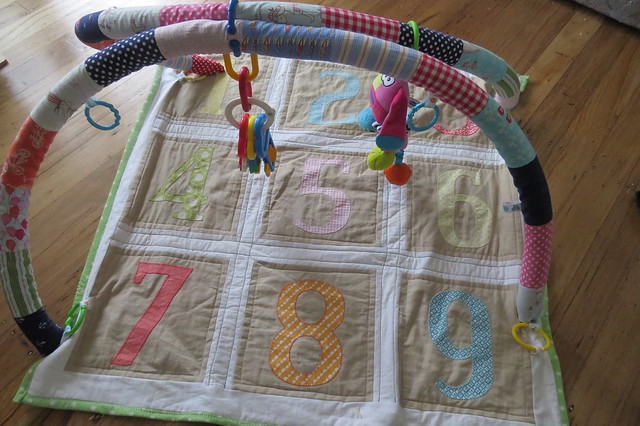
I wanted to make Little Miss S something to play with as she is now just about 4 months old (where did that time go?). She is just hitting that really fun stage where everything looks tasty and it all goes straight into her mouth!

I decided to make a baby gym for her as I've never owned one, but I did lend one from a friend and know how much babies like them.  I used the pattern from the book "Sew Modern Baby" by Angela Yosten, which I picked it up on a whim at spotlight ages ago.

However...if I had a crystal ball and could have known how much trouble it was going to give me, I definitely wouldn't of bothered!! 

I'll get to that bit later....first onto the quilt part, the mat!

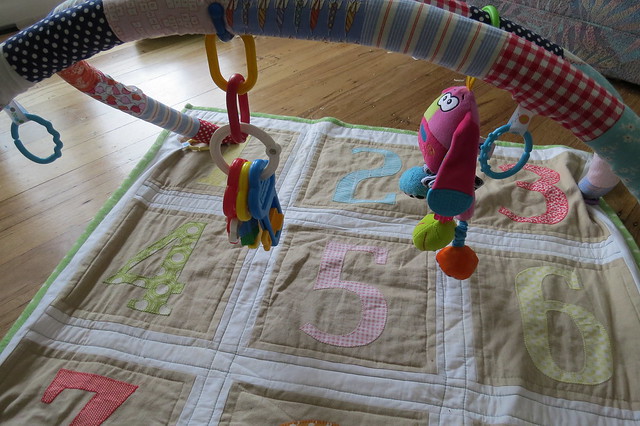
I appliquéd!!!......AND I didn't hate it!! 
I honestly think this is the first quilt I have ever appliquéd something that looks half decent. 


IMG_1309

(Let me just cut in here to say...i did it on my Bernina...not by hand. That's a hurdle for anther day!)


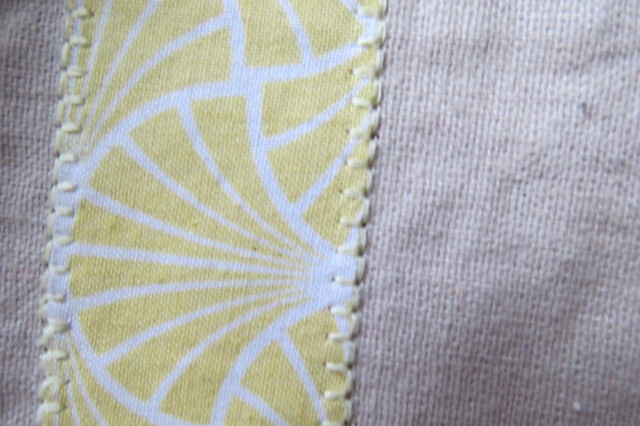
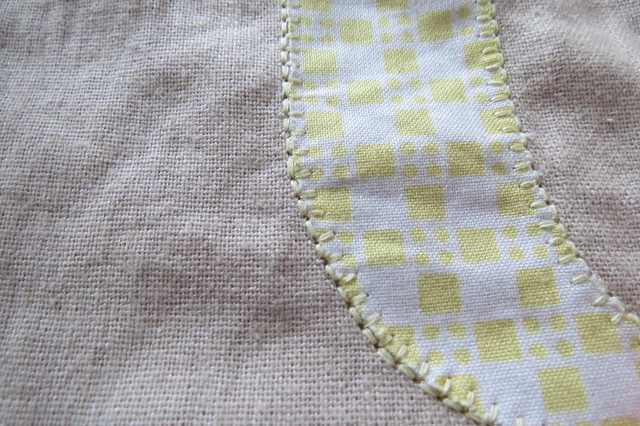
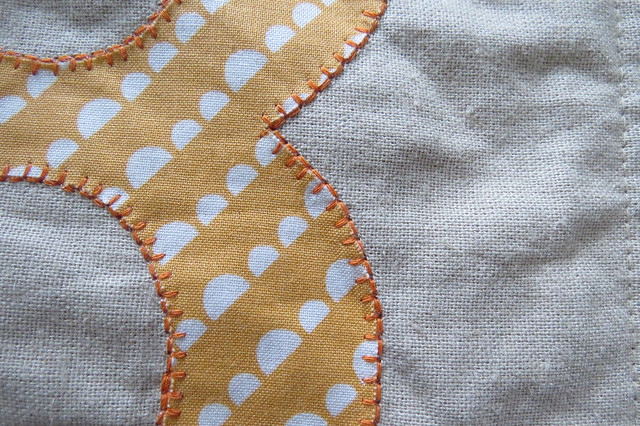
There are two types of blanket stitches on my Bernina 440QE (number 45 and 46 for those who want to know).

They are both the same, but 46 is double thickness. I decided to the thicker stitch, and while it definitely ate through my thread stash quicker than I would've liked, it looks so much better than the thinner one!! 

I mean, just look at that stitching!!


IMG_1311


And again...


IMG_1308

 
And again....


IMG_1307


Yup, I think I can definitely say I'm more than a little proud of myself!!

Now onto the stuff that seriously gave me nightmares! The arches!! *shudder*
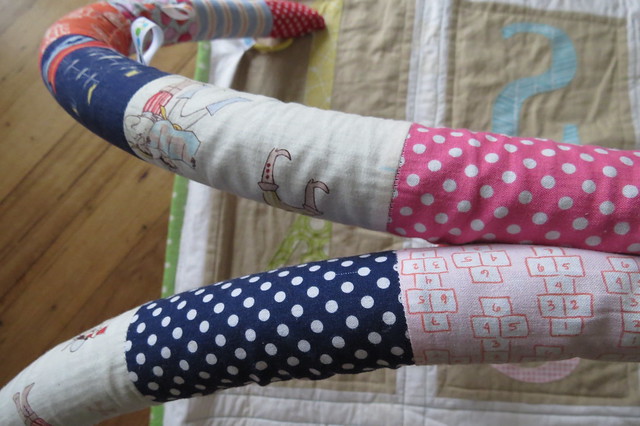
I sewed up the 'tubes' of fabric from my Sarah Jane stash (which is seeming never ending at the moment!! No matter how much I use, there is still just sooo much!).


IMG_1310  

That part was simple enough, but threading the black pipe insulation through the tubes took me hours and hours and hours!! 
Then after I finally had them threaded and sewn together I connected it to the quilt with baby links (like the patterns states) the whole thing just flopped over. (que me chucking a bit of a tantrum and refusing to look at it again for about a week!)

If anyone is planning on making this project take note...this book is American..so the materials listed aren't exactly the same as the materials I found in the hardware store here in Australia!!

After leaving it all in a corner for a few days, I decided to give it one more go and got my husband to go to my parents farm and get me a few lengths on fencing wire. 
I then cut them to length and wrapped the sharp ends in duct tape so they wouldn't poke through my fabric. 

After unpicking, threading then re-sewing, I can finally say that it works!! *happy dance*

And the best bit? Little miss S Loves it...which I guess makes it worth it in the end!! 


IMG_1312

She is seriously happy under this thing. I love how I can change up her toys as well so she gets a bit of spice in her baby-life.

Jessica


Tuesday, 16 June 2015

Beautiful Bow Quilt : :

Have you ever had a project that you just wanted to be perfect?
Most times when I quilt I do try for perfection..perfect seams, perfect quilting but I don't get too carried away if things are a teeny-tiny bit off.
But for my kids I wanted to make them all a special quilt each. The type that they can give to their children when they're all grown up (not yet please!)

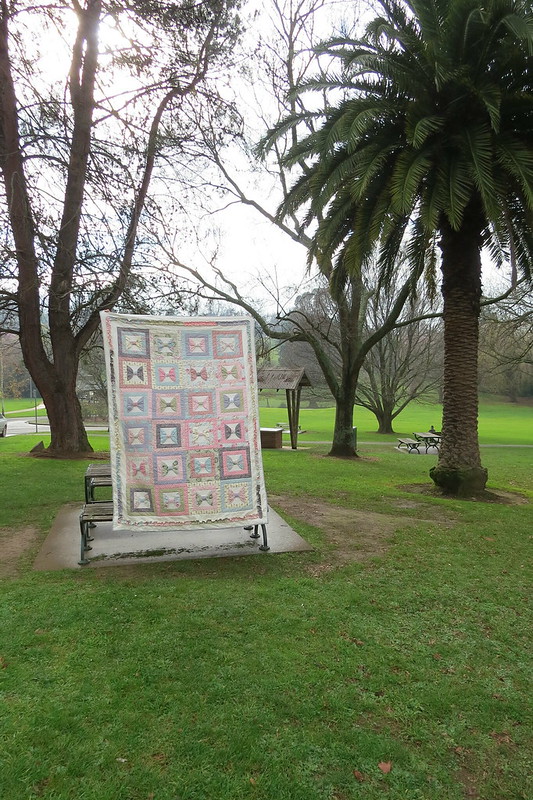
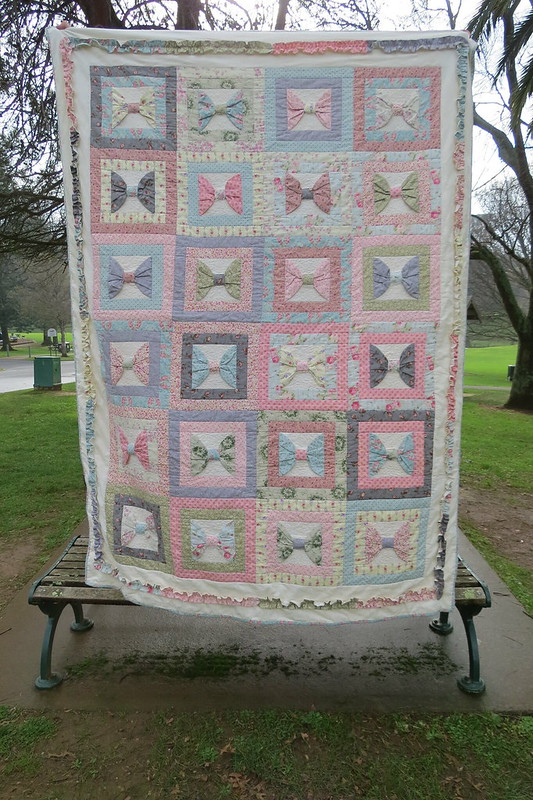
Well I FINALLY finished the first one. I wont tell you how long I've been working on this quilt (but I will say it would be measured in years, not months!). Its for Little Miss I. I chose the fabric randomly, instead of using fabrics from one line of fabric (which is what I usually do), and I think its perfect for a little girl!!

I wanted it to be a little bit vintage (and one or two of the fabrics I used are definitely vintage as they were given to me from an older lady who had had them for years and years!)

I also didn't go with all quilting cotton, I threw in a bit of eyelet fabric for added texture and to make it look more vintage-like, as obviously quilts were originally made of left overs and the 'good bits' of worn through items.

This is without a doubt my all-time favourite quilt.


IMG_1299  

 I. love. this. quilt!!

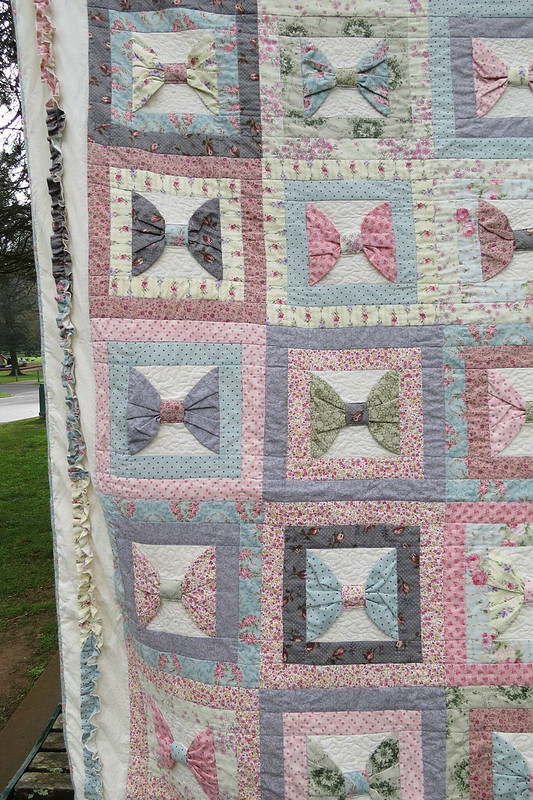
When I was looking for fabric, I pretty much just picked anything that was floral and pretty. I also tried not to introduce too many clashing colours, but at the same time tried to keeping them miss-matched enough that it looked vintage.

I nailed it :)

IMG_1300


All the way around the edge is a super cute ruffle. I've never added any type of 3D accent to my quilts, but I'm really loving how it turned out.
The bows are 'free' as well, and by that I mean that they can move. They are obviously sewn into the seams on the edges but the rest has been fed through the middle square that was sewn onto the cream fabric.


IMG_1302

Its just so pretty. 


IMG_1300

 To quilt it I stippled in the cream background behind the bow, then stitched in the ditch along the seams, continuing from one block to another. The pattern is supposed to be quilt-as-you-go (QAYG), and I have made a QAYG quilt before, but I used a different method last time, and the way the pattern tried to explain it I just found it too complicated and fiddly (which probably says more about me than it does the pattern), so I just sewed all the front together and quilted it like normal. I find that the extra throat space with my Bernina really does help when quilting quilts this size.

I used some lovely floral blue fabric for the binding. I usually cut my binding 2 1/2 inches, but I decided to make a wider binding for this quilt. Its not too much wider than normal, I cut 2 3/4'' strips, but I do like just that little bit extra thickness around the edges.

For the back I used some strawberry-print cotton that I've been hoarding for years in anticipation of finishing this quilt!


IMG_1303  

I think it goes really well. You can also see the quilting easier in this photo.

 For some reason I've never really been into the whole pieced quilt backs (maybe I'll join that party extremely late...like I do with pretty much all trends!). For now I prefer to have a nice uniform back! I also pinned this quilt extra carefully and it really paid off....look!! No puckers!!

Quilt Details:
Pattern: Beautiful Bows by MoonShine Designs
Fabric: Random finds from about 3 different stores, and some old vintage fabric
Size: 60'' x 84'' (or 152cm by 215cm)
Blocks: 24

Little Miss I adores this quilt! She has been waiting and waiting for me to finish it for quilt some time (only about half her life!!).

Now that its finally done I can move onto something else!! Little Miss E (Little Miss I and E are twins) of course wants one...but I'm thinking of designing my own quilt this time!! She wants princesses..but I'm thinking strawberries? 
I'm thinking about making a matching quilt with the same fabric, and same block size, but different pattern. 

We'll see :)

Jessica


Tuesday, 14 April 2015

Another Baby Quilt : :

This is a project that I completed last year before sewing became un-enjoyable (for some reason it felt like such a chore while pregnant!!).
My brother and sister-in-law had a lovely little girl so I decided to make her a quilt!! (Like I do every time someone has a baby!)

Here is my labour of love (aka the quilt)...


Ha ha this photo makes me laugh! I had my 6'3'' husband hold up this quilt and told him to crouch down. Poor guy was so uncomfortable trying to keep his head out of the picture! The whole time he kept asking me to hurry up and take the photo. What I put that poor man through! Love him!

This pattern was from one of Camille Roskelly's books I have previously mentioned here, here and here (and probably half a dozen other places that I cant be bothered linking to right now!)

 I used the Riley Blake fabric line 'The simple life', which is pretty old now but I've been hoarding it for baby girl quilts!
I also threw in some Kona solid fabric for the boarders, background and binding, and backed it with some Tilda fabric I got from my local craft store. 
 I used my machine to attempten a loopy-type stitch using the BSR. Not too bad for a first go hey?
Of course the BSR helps immensely!


 I've really got to work on my free motion quilting...but practice makes perfect I guess. Overall, I'm pretty happy with it (although I know its a far cry from perfect!).


I've also started being 'good' and labelling my quilts!! I think this is the first quilt I have actually labelled! I know some people like to include information about the quilt and what-not on the label..but hey at least its a start!! 


I liked this pattern so much I started making a boy version. Its still sitting unfinished in my cupboard (of course), but I know as soon as someone has a boy, that will be the kick up the bum I need to whip it out and finish that one too!!


Jessica

Saturday, 7 June 2014

Grandma's 80th Birthday Quilt : :

In April it was my grandmothers 80ths birthday. Is there a better way to celebrate turning 80 than with a new quilt? Nope, I couldnt think of anything either!

I decided I wanted to make a quilt using a Jelly Roll (my 1st ever!). I wanted to use one because I wanted to make her a queen sized quilt, and didnt want it to take me too long!
After a few sneaky phone calls to my aunt about what types of colours nan does and doesn't like, I decided to get 2 Lario Jelly Rolls.

Lario is by 3 Sisters for Moda. Its a traditional-type fabric, but still has some really nice colours.
My grandma is a traditional sort of lady so it was a match made in heaven!

I borrowed a Jelly Roll book from my friend and decided to make the pattern 'Daisy Chain'.
(hmm hmm, I actually was going to go with another pattern, but ran out of time!)

It actually sewed up really quickly for a queen quilt, but I was still rushing to finish it because as usual I had procrastinated for about....only a YEAR!

Yes, I began planning this quilt at her 79th birthday and had all these wonderful plans to start and finish it waaay before her 80th.

I didnt start cutting this quilt till 1 week prior.
Need I say more?


So here is it being used in my grandmas bedroom. For the background I used Kona snow, which was perfect with Lario. Snow isn't as 'stark' as white, which was nice for a more traditional quilt. 


I backed it in a peach coloured backing I got from my local craft store. To be honest, I cant stand peach coloured things (it reminds me of 80's shiny bridesmaids dress and dated old bathrooms), but it went so well with the quilt, and was wide enough that I didnt have to have any seams on the back. SOLD!

And my nan didn't mind it either, which, of course is the most important thing!

To quilt it, because I was sooo strapped for time, I used a wavy stitch on my Bernina, and just stitched the width of the quilt on every seam. For some reason I thought it would be quick -It wasnt!

But it looked ok. I think I would've preferred to stipple this quilt (if I was being honest) but I really didn't have the time......

NEXT time, I wont leave it till so late! (Says she who is still making a baby quilt for a baby that is now 4 months old!)

Jessica

Saturday, 31 May 2014

Baby Girl Quilt : :

Despite my obvious lack of posting on my blog of late, I haven't lost interest!! We have had a lot of things going on in the last few months.
 We are steaming ahead with our renovation, my logo for the store is now done, and we had the twins 5th birthday in the middle of all that as well (where does the time go?).
All that was done in between the everyday things of shopping, cleaning, kinder, speech pathology, visiting friends and family, and SLEEP!  (not nearly enough of the later though if you ask the bags under my eyes!)

But despite all that, I still love to squeeze some time quality time in with my sewing machine!

Earlier this year one of my good friends had a beautiful baby! (please ignore the clucking you may or may not hear coming from me).

So of course, every beautiful baby needs a beautiful quilt!


The pattern for this quilt is called 'Sweet Pea', and came from the quilt book written by Camille Roskelly,  'Simplify'. (I L-O-V-E her patterns, fabric....hair, and the fact she is a member of the same church I go to! Yup, she has got a lot of things going for her!)


I used my favourite fabric, Sarah Jane, Children at Play. (yes I know i have made a zillion quilts with this fabric range before. I just have a whole ton of it!)


This is also the first time I have EVER free motioned! I decided to just stipple the quilt instead of getting fancy (and frustrated) with a pattern. I used the Bernina Stitch Regulator (fondly known as BSR) and while it's not fool proof, it was definitely good for me!

I found that it really helped me stay a steady speed, as every time I moved the fabric too quickly, my machine would start beeping at me! I know it makes for 'lazy quilters', as I was told by a Pfaff sales representative when I asked if Pfaff sewing machines come with any sort of equivalent (really, I deserved it! I mean, come on, would any other machine even come close to a Bernina?)

I would like to be able to use the free-motion foot without the stitch regulator eventually, so I tried to maintain a steady speed while quilting. The best thing is that while I'm leaning, my quilts still look fantastic, and it gives me loads of practise!

I love the look of the heavy stippling. I'm not a great fan of sparse-stippling! I am honestly coming to believe that a quilt can never be too quilted!

So this quilt is now over in Baltimore keeping one gorgeous baby girl warm! I really hope I can go and see this quilt in action in the US soon!

Jessica 

P.S Sorry for the terrible lighting with the photos. I stayed up really late the night before and then got up at 5am to finish it! I just snapped a quick photo at my friends house before I left!! Ill up my game for the next post!!

Monday, 6 January 2014

A Christmas Surprise : :

First of all, I just wanted to say Merry Christmas and Happy New Year! I hope you all had a lovely holiday season!
We just got back from camping with friends for a week at Eden. It was so nice to be able to get away and hit the beach everyday!

Now onto what I'm REALLY excited about.....

Guess what Mr Handsome got me for Christmas???